Saturday 24 May 2014

1920's with a twist


1920's with a twist!

For this look I first started with the eyes to avoid a "fall out distaster!" 

Firstly I primed my lids with Urban Decays Primer Potion. This is a key stage for a look as dark as this to make sure you get opaque eyeshadow that lasts.

Then I dabbed black eyeshadow to the desired shape and blending out. 
Patting the product on with give a density and longevity to your colour.

Once satisfied with the shape I applied a thin layer of eyelash glue over the dark shadow and applied MAC's Reflects Very Pink glitter.

While this dried, I lined my lower waterline and filled in my brows.
To finish off I added top and bottom lashes and that's the eyes done!

As I did my eyes first, I can wipe any fallout from the rest of my face and apply foundation and concealer as normal without causing smudges.

Not quite traditional but a lot of fun!! 

Until next time! 

- Miss Minnie Rose 
Xxx


Clean yourself up!...


For anyone serious about makeup, you need a remover strong enough to wipe away all evidence but gentle enough for delicate skin.  This is the best I have found yet!

I use one cotton pad with some of this bad boy on and it will remove a full face of makeup.
Foundation, waterproof eyeliner, eyelash glue...the lot!
Then I give another wipe over  just to make sure there is no residue left barely have anything at all.

Having problematic skin, I was worried that this would leave my skin feeling dry and tight. However I was pleasantly surprised as  had no negative effects at all.

After using this product, I didn't know how I have survived so long without it and is now a welcome addition to my skin care regime.

This is an incredibly efficient product and you get a 400ml for a couple of quid! Can't gripe at that!

Check it out!

-Miss Minnie Rose
xxx

Sunday 30 June 2013

Back to basics: Hot lips sink ships


Preparation - Your lips need to be exfoliated and moisturised just like any other skin. This is my regime after  a bath or before I put lipstick on as some products can be incredibly drying. There are scrubs on the market but I am going to tell you of household items that you can use for an inexpensive lip treat. 
  • Take a new toothbrush - It doesn't have to be an expensive brand, any standard bristle brush will do.
  • Moisten brush - Tap water is good enough.
  • Sugar! - Yep sugar..sounds gross but it is abrasive enough to give you gentle exfoliation. Gently rub the sugary toothbrush over your lips in circular motion and as an added bonus, it will also increase circulation. Remember not to rub too hard, this shouldn't be a painful process!
  • Rinse - Rinse your lips with water and pat dry with a clean towel.
  • Moisturise - Finish by applying a lip balm. My personal favourite is the Nivea lip care essential as it contains Shea butter for extra silkiness. 
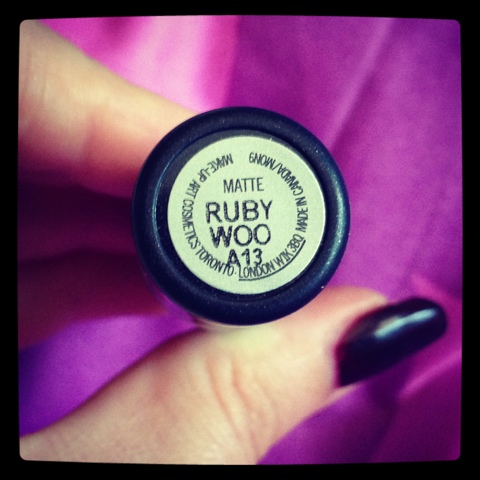
Picking a Colour - I feel that lip colour is a very personal choice and you can go as bold or as natural as you like as there is always something for everyone. It is all about experimentation and I am not about to tell you any rules about what you should or shouldn't wear. Finding the right product for you can make such a difference to your confidence and you don't need an excuse!! I can often be seen wandering to the shops in a bold matte red lip.

Apply lip liner - This is crucial to make sure you get lipstick that is sharp and defined and stops your lipstick from bleeding throughout the day. It is also easier to remove if it goes wrong than lipstick.
  • Apply lip liner to the desired shape of your lips - This part is fun as you can cheat the natural shape of your lips. for example if you feel your lips are thin then draw slightly over the edge of your natural lip line. If you want a super pout then do not define the cupids bow and join slightly as this will give the illusion of a larger top lip. 
  • Your lip liner should match the colour of your lipstick to become "invisible" once your lipstick is on.
  • Once you have outlined your lips then fill in the rest of your lips with the liner to create a base.
Applying lipstick - I apply my lipstick twice, this method means that it stops lipstick fading in a patchy blotchy hot mess!
  • Apply your desired lipstick over the base of lip liner.
  • Blot on tissue
  • Re-apply lipstick
  • Blot.... Simple ey?
Making it stay - This is one of the most frequently asked make up questions I get. I am going to let you into a little secret, what if I told you with one simple, inexpensive product could make your lipstick last all night or through most of the day at work? This product is called Lipcote and looks like this:

This is basically a top coat for your lips (clever product naming huh?)
I put two coats just to be sure and make sure that it is completely dry then you are set.
Just a word of warning that Lipcote washes off with water, so be careful with eating and drinking although it is a small price to pay for kissable lips without the fear of smudging or transferring! This product can also be drying so I would suggest to give your lips so I would suggest repeating the preparation stage when you take your make up off for the night. This is pretty inexpensive product at about £3.50 in Boots or Superdrug.

And that's it! 

I think I have covered all the bases and I hope this has been helpful. Please try and give it a go and see what works for you. 

Happy smooching!! 

- Miss Minnie Rose xxx